LeanDESIGNER integration with Creo Parametric
This article describes how to enable the integration between LeanDESIGNER and Creo Parametric.
1. VB API Toolkit
The first thing to do to enable the integration between LeanCOST and Creo Parametric to install the module VBI API Toolkit in the CAD system. To check if that module has been already installed in the CAD system, select “Toolkit API” from the CAD installer and check that the box “Visual Basic API” is flagged.
If it is flagged, the module is installed and you can skip to the chapter 2.
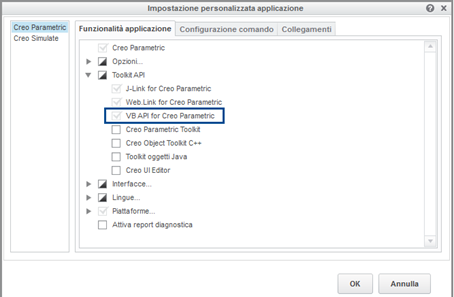
If it is not flagged, you must install it.
Install the VB API Toolkit
To install the module VB API, part of the PTC API Toolkit, you need to tun the file “setup.exe” inside the Creo installer folder. The “PTC installation Assistant” will open. Choose the option “Install new software”, even if the CAD is already installed.
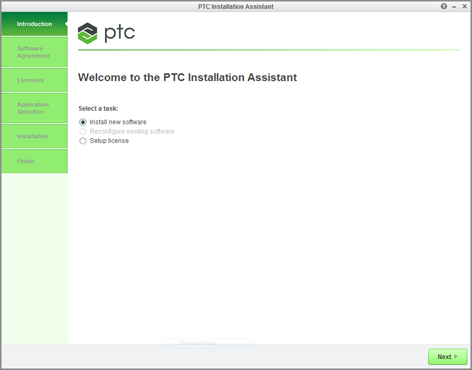
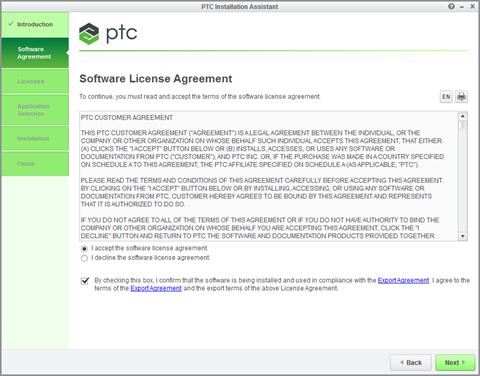
Accept the license agreement.
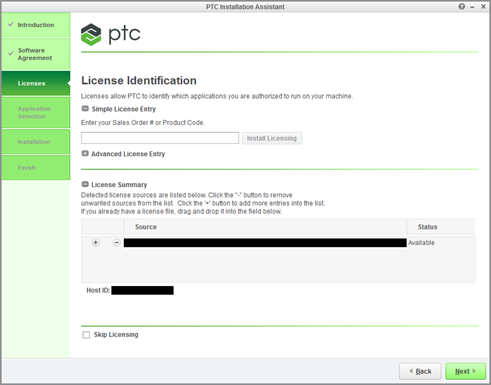
Confirm the license path.
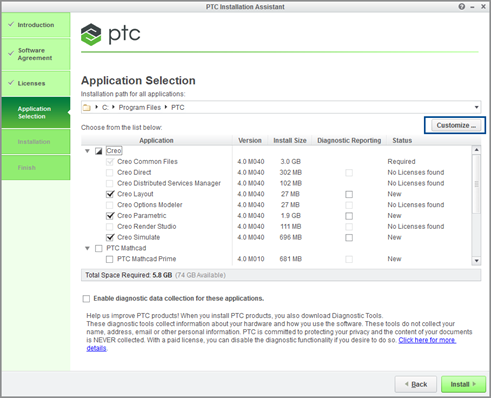
Click the button “Customize…” highlighted in the next image.
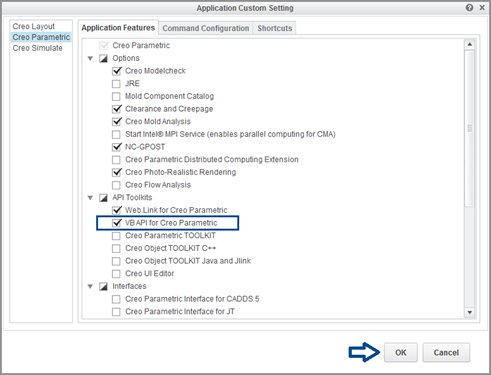
From the window “Application Custom Settings”, tick the box “VB API for Creo Parametric” under the group “Toolkit API” then click “Ok” button.
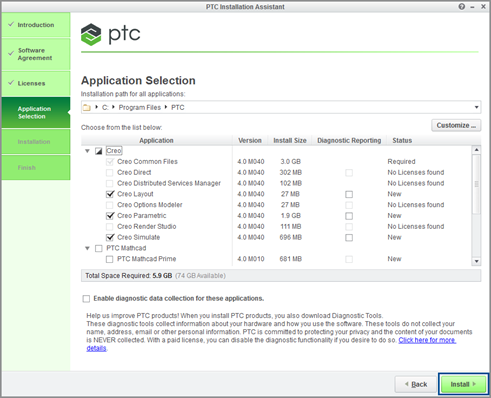
You will go back to the window “PTC Installation Assistant”. Here, press “Install” button.
The installation of the select module begins. At the end, press “End”.
The installation will add files and folders that depends on the version of Creo you have installed.
Creo 2.0 and Creo 3.0
- C:\Program files\PTC\<Creo version>\<build>\Parametric\bin
Added files:- “prodialog_view.bat”
- “vb_api_register.bat”
- “vb_api_unregister.bat”
- C:\Program files\PTC\<Creo version>\<build>\Common Files
Added folder:- “vbapi”
- C:\Program files\PTC\<Creo version>\<build>\Common Files\<Machine type>\obj
Where <Machine type> is: “x86e_win64” for Win 64-bit, “i486_nt” for Win 32-bit.
Added file:- “pfclscom.exe”
Creo Creo 4.0, 5.0, 6.0 and 7.0
- C:\Program files\PTC\<Creo version>\Parametric\bin
Added files:- “vb_api_register.bat”
- “vb_api_unregister.bat”
- C:\Program files\PTC\<Creo version>\Common Files
Added folder:- “vbapi”
- C:\ Program files\PTC\< Creo version >\Common Files\<Machine type>\obj
Where <Machine type> is: “x86e_win64” for Win 64-bit, “i486_nt” for Win 32-bit.
Added file:- “pfclscom.exe”
2. Setting environment variables
It is also necessary to add to the environment variables “PRO_COMM_MSG_EXE” and “PRO_DIRECTORY”.
Their values changes according to the version of Creo that is in use.
Creo 2.0 or previous versions:
PRO_COMM_MSG_EXE = <Creo installation Path>/Common Files/<Build Name>/<Machine type>/obj/pro_comm_msg.exe
PRO_DIRECTORY = <Creo installation Path >/Parametric
Creo 3.0 or superior versions:
PRO_COMM_MSG_EXE = <Creo installation Path>/<Build Name>/Common Files/<Machine type>/obj/pro_comm_msg.exe
PRO_DIRECTORY = <Creo installation Path>/<Build Name>/Parametric
In both cases <Machine type> is equal to:
- “i486_nt” for Windows 32-bit
- “x86e_win64” for Windows 64-bit
3. Register to server COM
The installation of the VB API Toolkit module allows to register to server COM.
To do so, run as administrator the “vb_api_register.bat” file, stored in “<Creo installation Path>/Parametric/bin”.
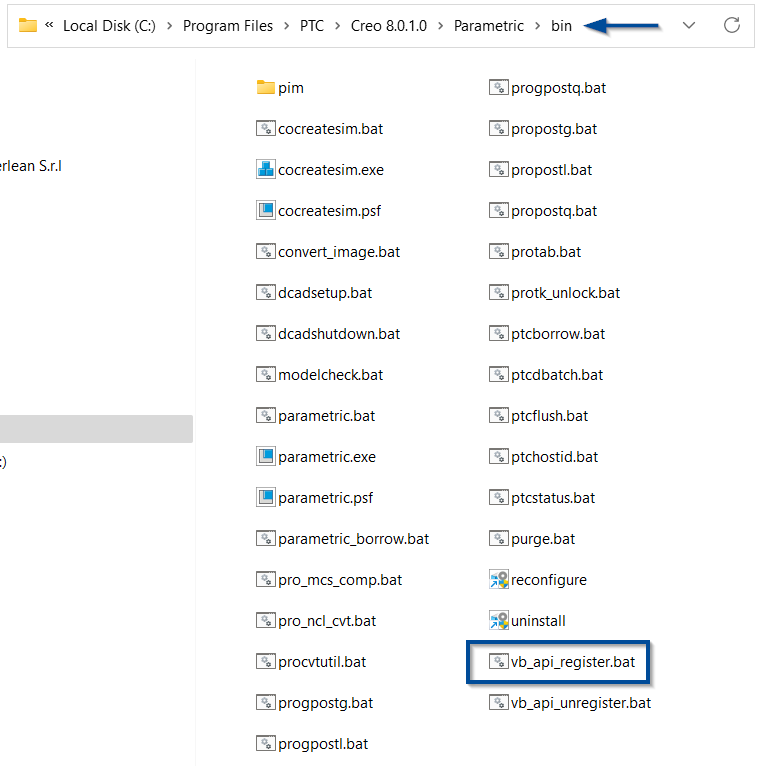
To unregister: run as administrator the “vb_api_unregister.bat” file.
4. Add the interop files to the database
To enable the connection between LeanDESIGNER and Creo you need a group of files with “.dll” extension. These files are stored in a “.zip” file that you can download from a link sent by Hyperlean.
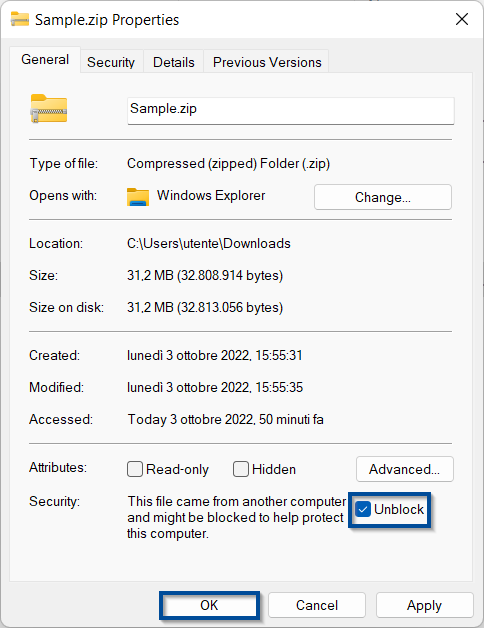
Before extracting the “zip” file, you should check that it does not have a security block and eventually disable it, by applying the following procedure:
- Right-click with the mouse on the downloaded “.zip” file
- Select “Properties” option in the context menu which will open and then go to the tab named “General”.
If the “.zip” file is blocked, you will see the button or the box “Unblock”. In this case:
- Press “Unblock” button or tick “Unblock”.
- Press “Ok” to save the changes.
To enable the import from Creo, you need to add the necessary “dll” files in your MsSQL database that is stored in your SQL server.
To add files to LeanDESIGNER’s database, log in LeanDESIGNER with a user with administrator rights.
From the toolbox, click the “Tool” icon, then “Settings”.

From the tab “General”, under “Import settings”, choose “Creo” from the drop down menu as the CAD to connect.

Press the button “Modify DLL CAD” and select the “.dll” file you unzipped, then press “Open”.
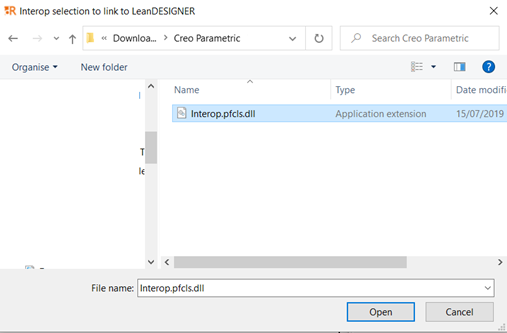
Note: the “dll” files you are adding can be different from the ones shown in the picture because they change based on the version of the CAD soft
A window will open confirm that the files have been added to the database: you’ll have to restart LeanDESIGNER to load the updated database.
Press “Ok”.

Restart LeanDESIGNER and test the import from Creo.
Select Creo from the dropdown menu shown below:

Then, click Start to import the 3D model that is currently loaded in your Creo active session.

If you run into any problems, contact support@hyperlean.eu.